Creating a Simple Texture Pack
A guide to creating and applying texture mods in Spaceflight Simulator (SFS).
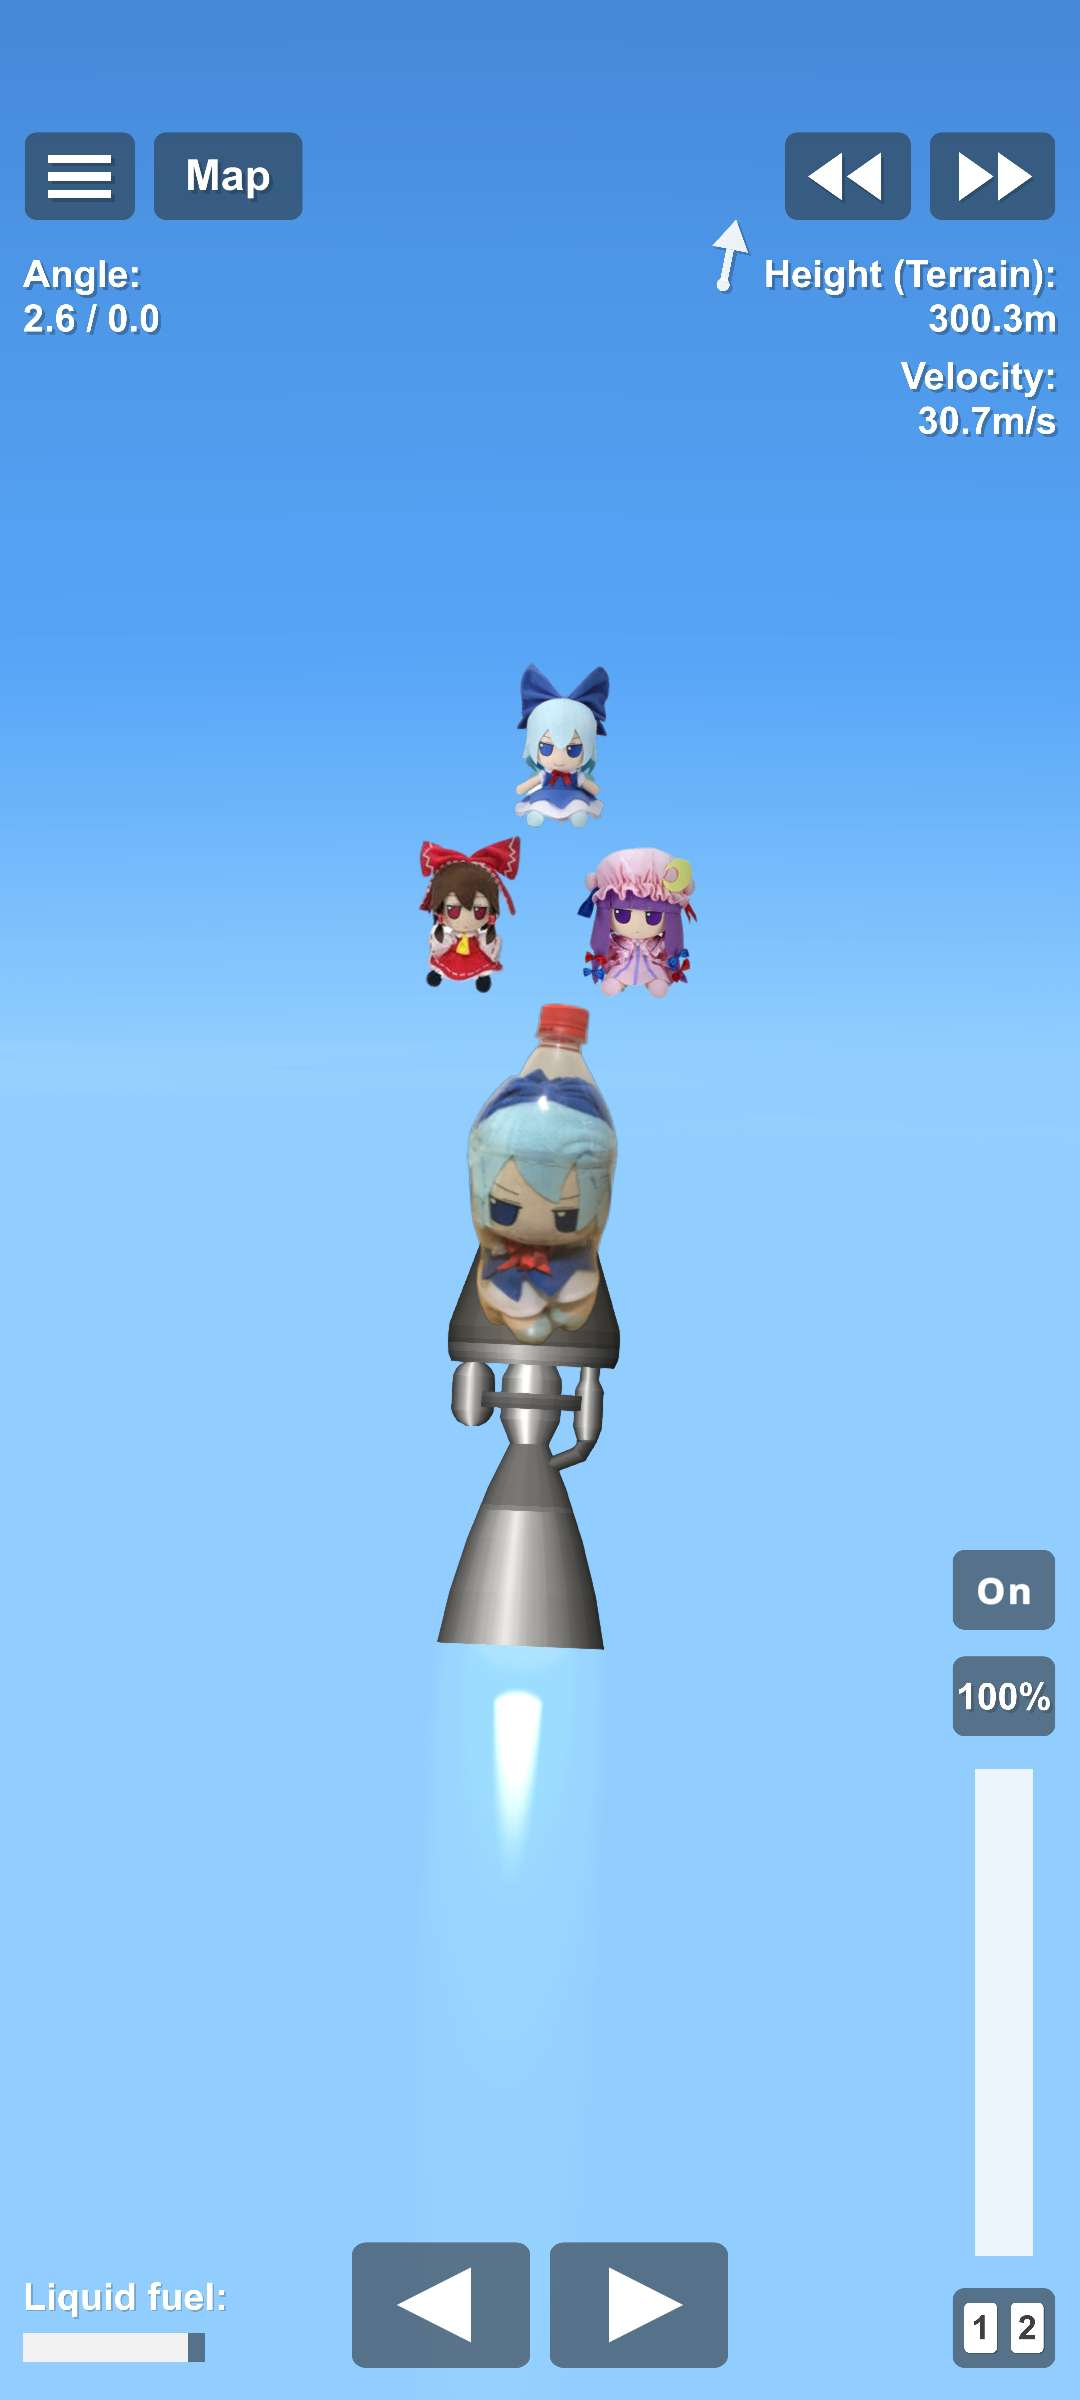
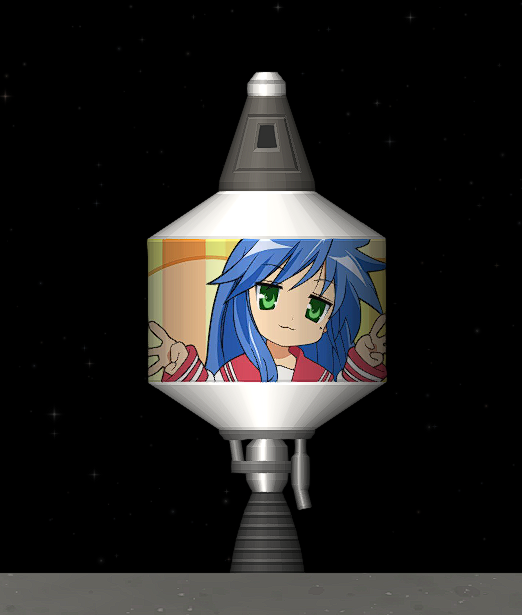
So you saw this cool rocket with custom textures and you want to make your own? This quickstart guide will walk you through the basics of creating and applying texture mods in Spaceflight Simulator (SFS). This guide is for both PC (and mobile users, in the 1.6.00.0 beta). Note that for mobile users, you need the expansions and the beta version of SFS 1.6 to use texture mods.
Step 1: Set Up Your Mod Folder
First, you'll need to create a mod folder where you'll store your texture files.
- Navigate to the SFS mods directory. On PC, this is usually located at:
On Android, it's typically found in the SFS installation directory under
C:\Program Files (x86)\Steam\steamapps\common\Spaceflight Simulator\Spaceflight Simulator Game\ModsMods./storage/emulated/0/Android/media/com.StefMorojna.SpaceflightSimulator/Mods - Find the
Texture Packsfolder inMods/Custom Assets.
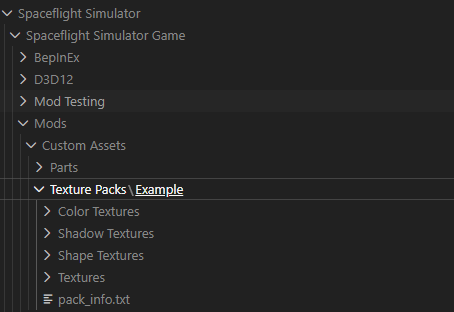
- Clone the
Examplefolder and rename it to your desired mod name, e.g.,My First Texture Mod. - Inside your new mod folder, you'll find 4 main subfolders and a file called pack_info.txt
Color Textures: This is the folder you will primarily work with.Shape Textures: More advanced users can modify shape textures here.Shadow Textures: Used for shape texture shadows.Textures: The image files go here.
Clear out all of these folders to start fresh, except for the pack_info.txt file.
You can edit this file to give your mod a name, description, author information, version number, and an icon.
Step 2: Create Your Textures
The most basic texture modding involves replacing the color textures of SFS parts. This quickstart guide will focus on single textured color textures only. There are many options available but we will keep it simple for now.
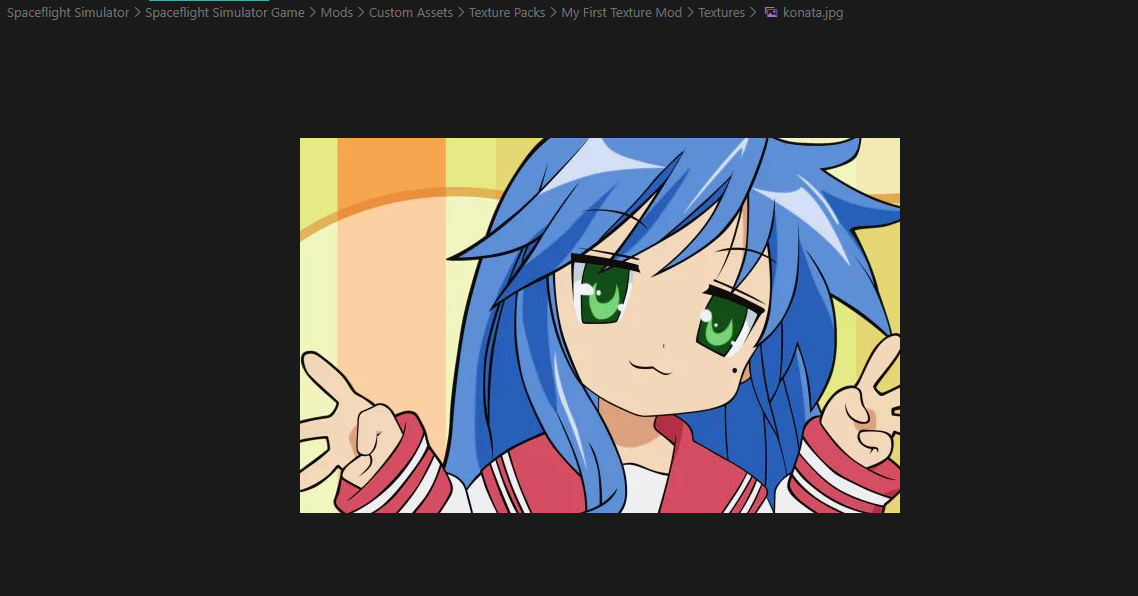
- Open the
Texturesfolder. Here, you'll find image files representing the textures of various SFS parts.
- These can be JPG or PNG files, but it's best to use PNG for better quality and transparency support.
- Create your own texture images using an image editing software like Photoshop, GIMP, or Paint.NET.
- It's recommended to keep textures at a maximum resolution of 1024x1024 pixels for optimal quality and performance.
- Name your texture files according to the part they will be applied to. For example, if you're creating a texture for the "Basic Rocket Body", name it
basic_rocket_body.png. - Place your newly created image files into the
Texturesfolder of your mod.
Step 3: Adding the texture entry
Next, you need to inform SFS about your new textures by adding a texture entry in the Color Textures folder.
Create a new file titled <your_texture_entry_name>.txt, and modify everything in angle brackets (<like_this>) to fit your texture mod:
{
  "colorTex": {
    "textures": [
      {
        "texture": "<your_texture_name>.<png/jpg, depending on your file format>",
        "ideal": 0.0
      }
    ],
    "border_Bottom": {
      "uvSize": 0.0,
      "sizeMode": 0,
      "size": 0.5
    },
    "border_Top": {
      "uvSize": 0.0,
      "sizeMode": 0,
      "size": 0.5
    },
    "center": {
      "mode": 1,
      "sizeMode": 0,
      "size": 0.5,
      "logoHeightPercent": 0.5,
      "scaleLogoToFit": false
    },
    "fixedWidth": false,
    "fixedWidthValue": 1,
    "flipToLight_X": false,
    "flipToLight_Y": false,
    "metalTexture": false,
    "icon": null
  },
  "tags": ["tank", "cone", "fairing"],
  "pack_Redstone_Atlas": false,
  "multiple": false,
  "segments": [],
  "name": "<your_texture_entry_name>",
  "hideFlags": 0
}
<your_texture_entry_name>is also the in-game identifier for your color texture. Use it when blueprint editing, eg."color_tex": "my_first_texture_entry".- Replace
<your_texture_name>with the name of your texture PNG file, e.g.,basic_rocket_body.png. - Replace
<A unique name for your texture entry. Keep it short and simple.>with a unique name for your texture entry, e.g.,customcolor1, etc.
Step 4: pack_info.txt Configuration
Finally, make sure your pack_info.txt file is properly configured to include your texture mod.
Here is an example of how your pack_info.txt file might look:
{
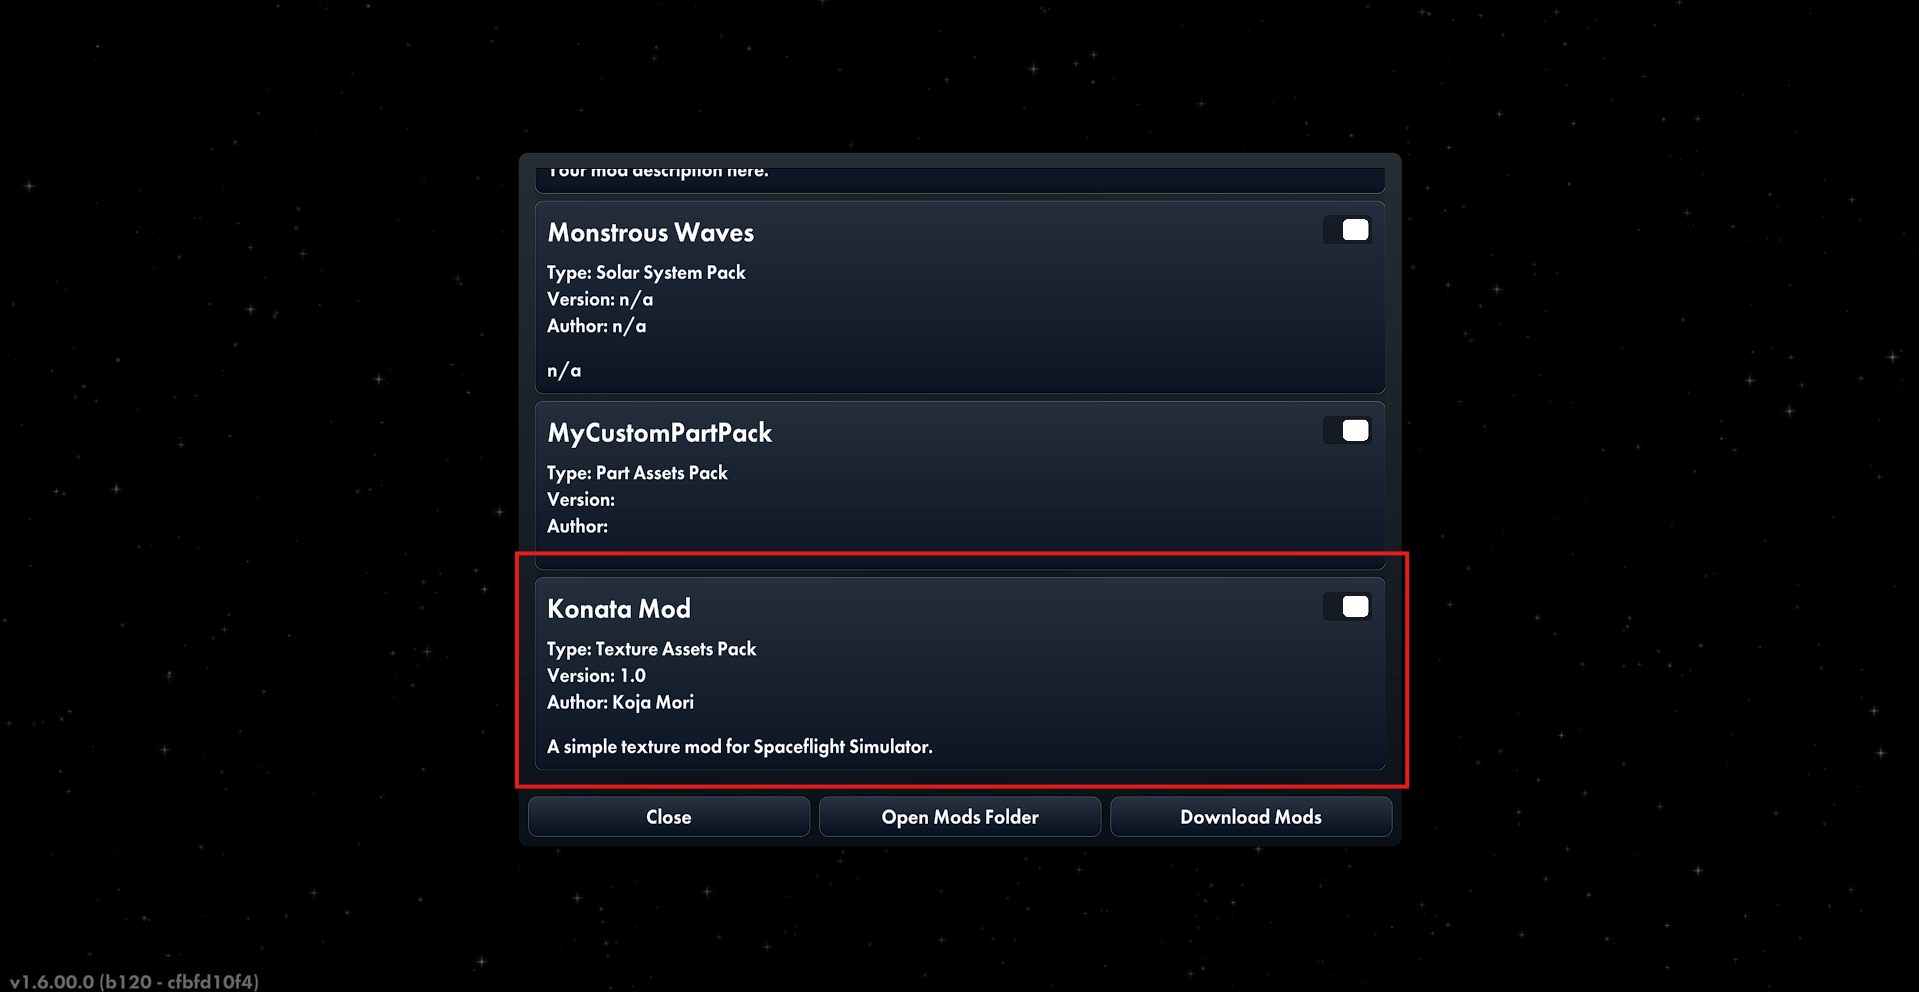
"DisplayName": "My First Texture Mod",
"Version": "1.0",
"Description": "A simple texture mod for Spaceflight Simulator.",
"Author": "Koja Mori",
"ShowIcon": false,
"Icon": null,
"name": "",
"hideFlags": 0
}
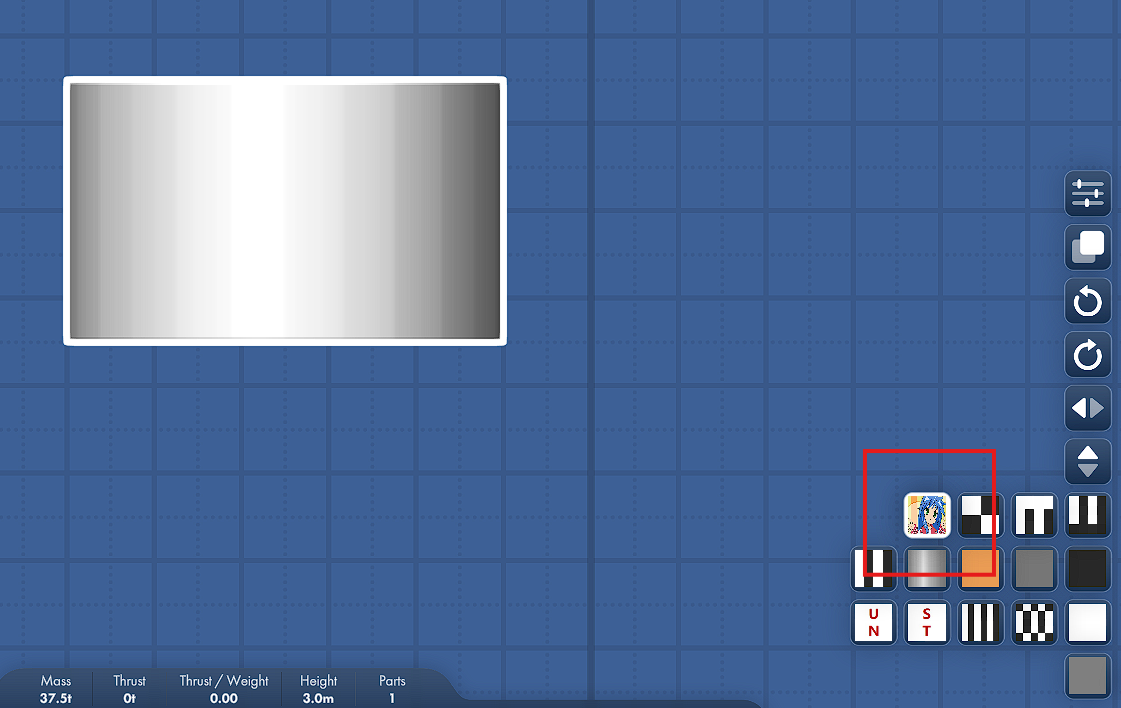
Step 5: Enable Your Texture Mod in SFS
Now that you've created your texture mod, it's time to enable it in Spaceflight Simulator.
- Launch Spaceflight Simulator.
- Go to the Mods menu from the main screen.
- Find your texture mod in the list and enable it by checking the box next to its name.
- Start a new game or load an existing one to see your custom textures applied to the parts.
P.S.
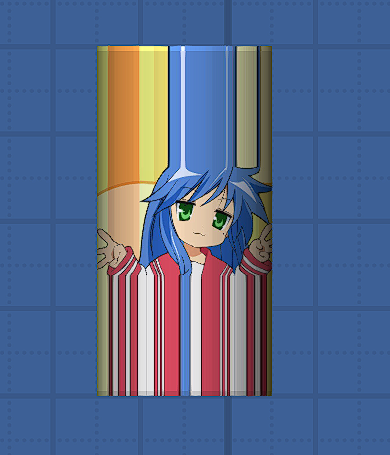
Note that textures can have transparency, so you can create parts with see-through sections if desired. You won't be able to see other parts behind transparent sections, but you would be able to see through to space or the ground.
Also note that texture mods only apply to parts that use color textures. Parts that can't be textured include engines, struts, and landing legs, etc. If you apply a color texture to a part with a different resolution/size ratio, the texture may appear stretched or squashed.
Feel free to experiment with different textures and settings to create unique looks for your rockets! For more advanced texture modding, consider exploring shape textures and shadow textures as well. These will hopefully be covered in future guides. Happy modding!